Coffee Bag
Tastes Better Drip Bag Coffee
Get bouncy with coffee bag
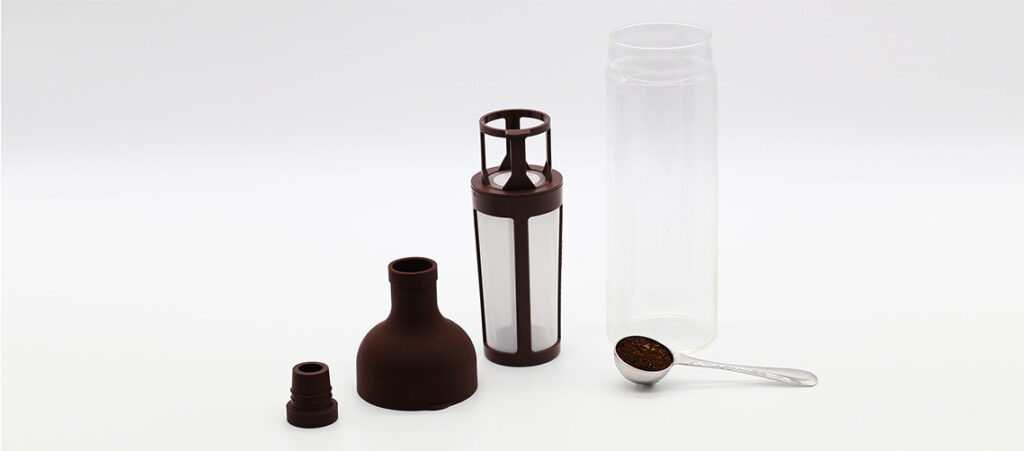
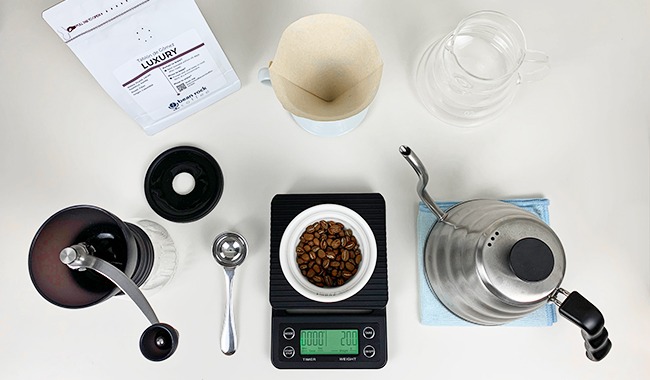
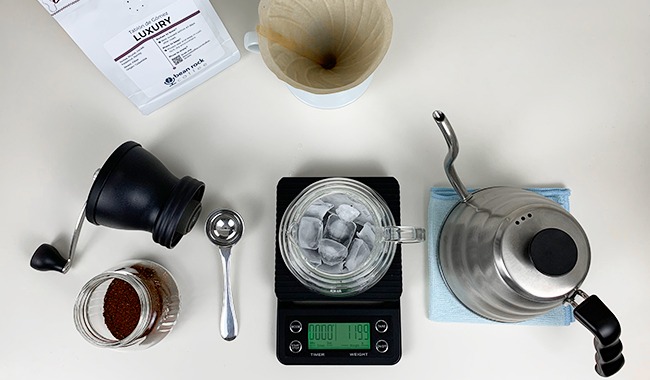
Ingredients
- Hot water: 180ml
Coffee bag brewing tips
- Use a sturdy mug that can hold at least 250ml of liquid, to prevent spilling when you bounce and steep the coffee bag.
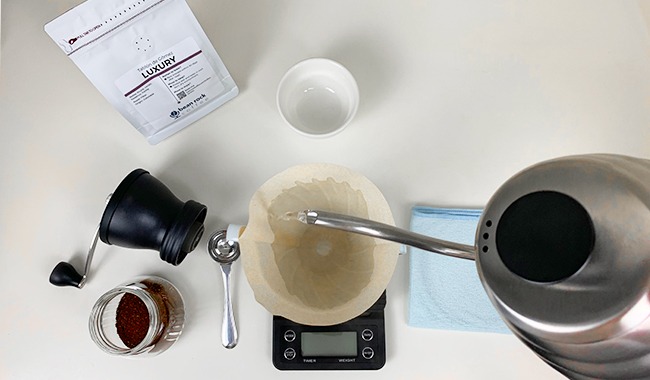
- Brew with hot water just off the boil for the maximum extraction.
- Adjust the bouncing amount and steeping duration according to taste preference: Bounce more for a thicker body, or bounce less for a tea-like mouthfeel.
- Bouncing is necessary to agitate the coffee grounds. Steeping without bouncing will result in a weak and hollow brew.
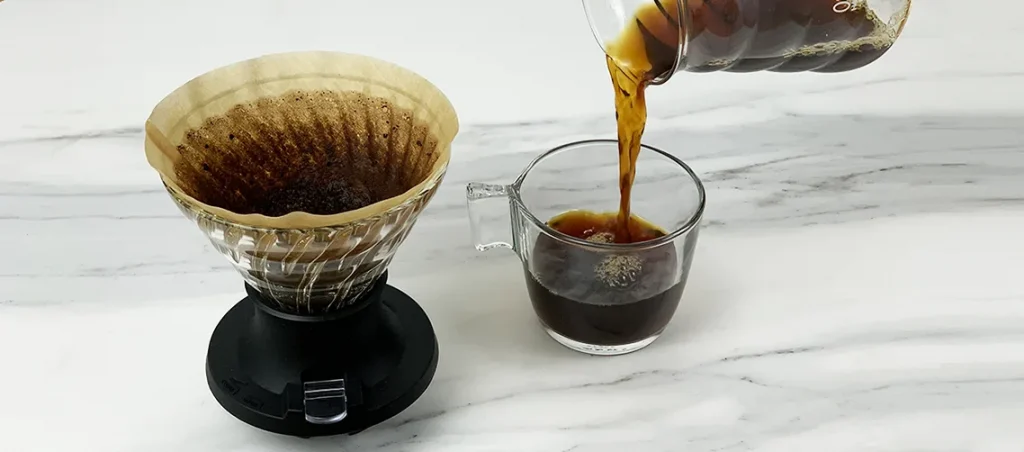
- The bouncy method is one of the many brewing ways to give a nice cup of coffee. There are other ways to get a good brew too. For example, stir and squeeze with a spoon, add fresh milk or concentrated milk etc. Feel free to experiment and have fun!
How to play
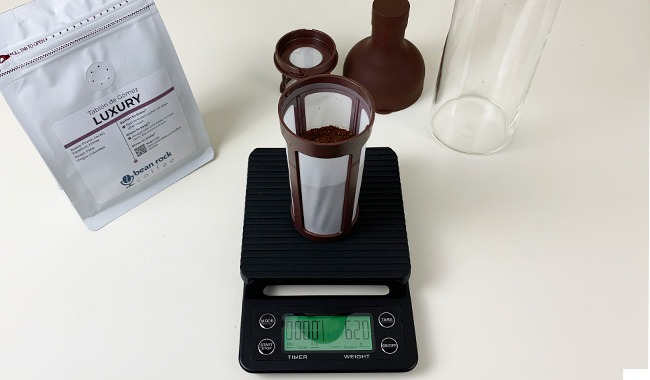
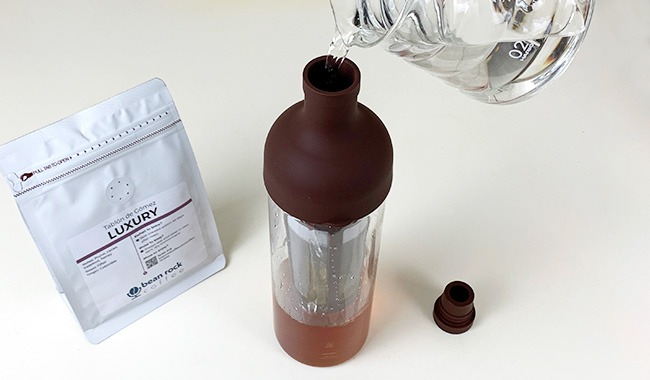
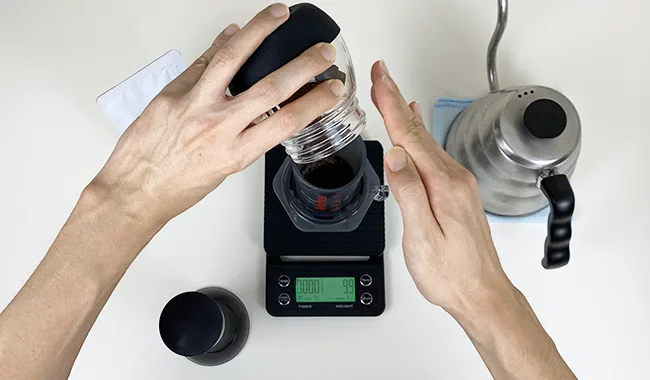
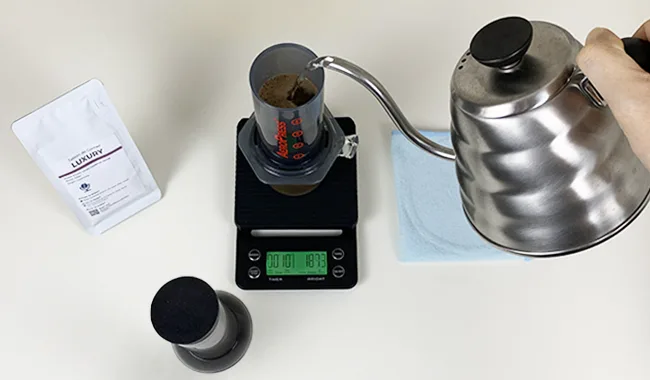
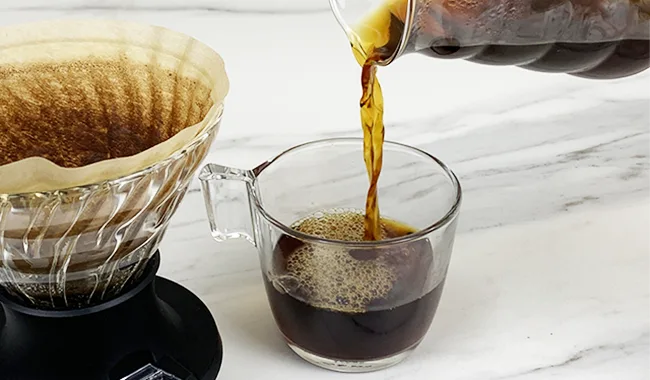
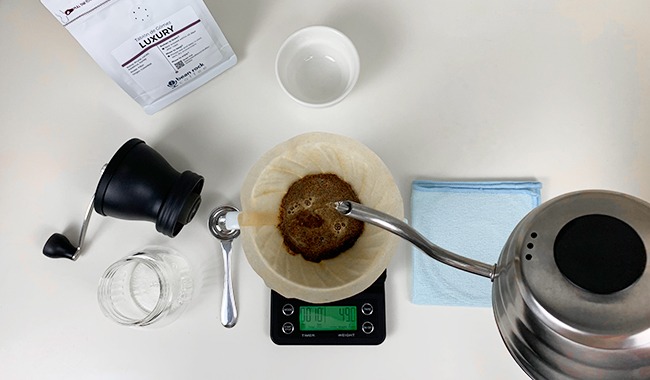
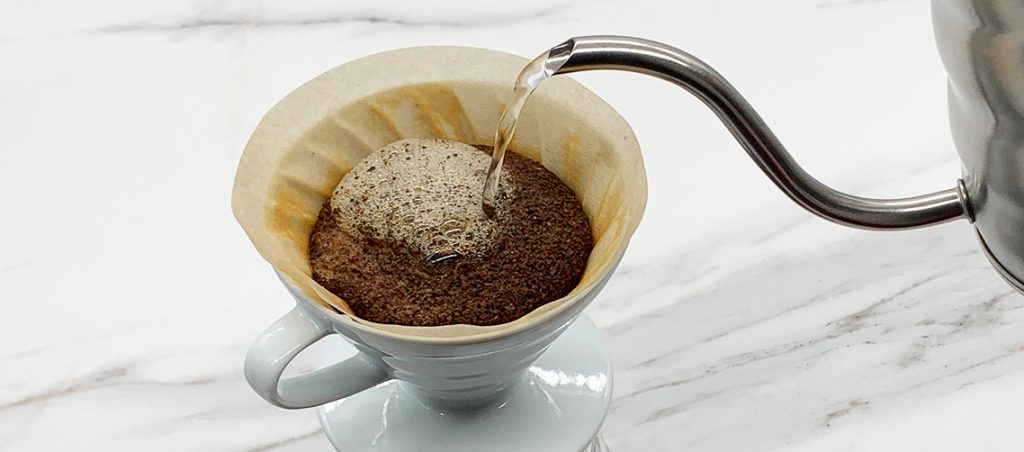
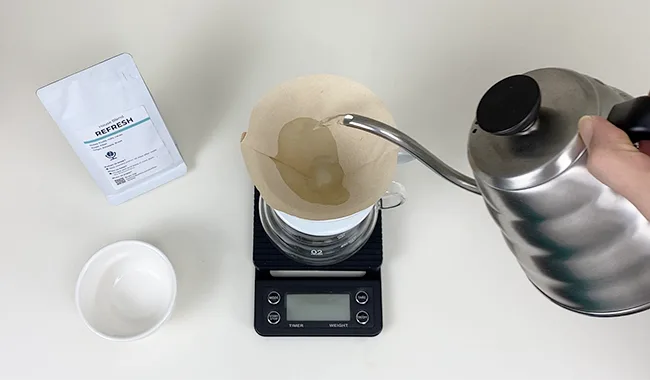
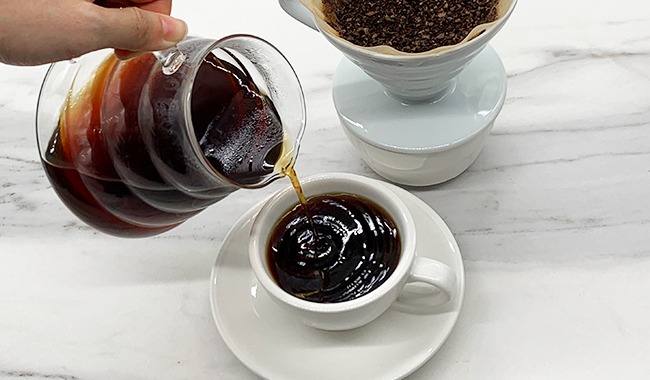
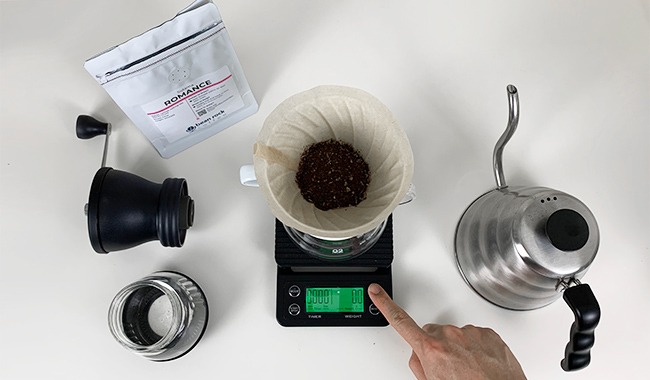
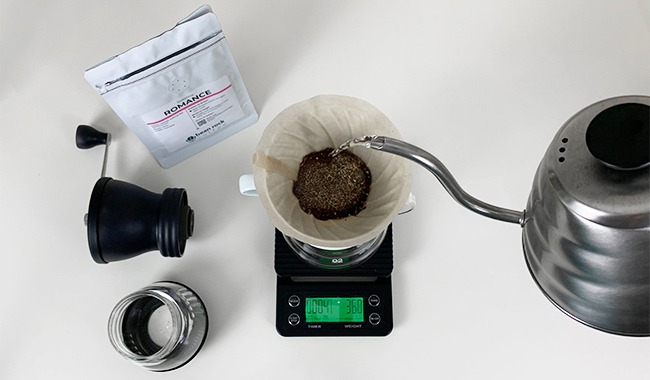
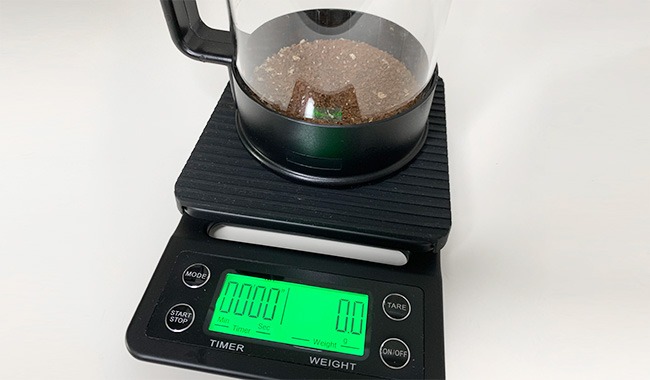
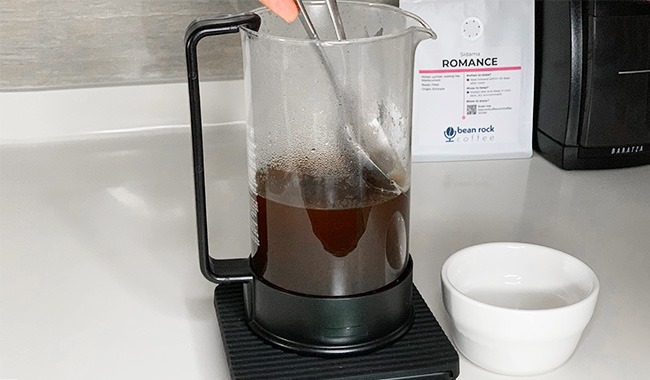
Step 1: Pour
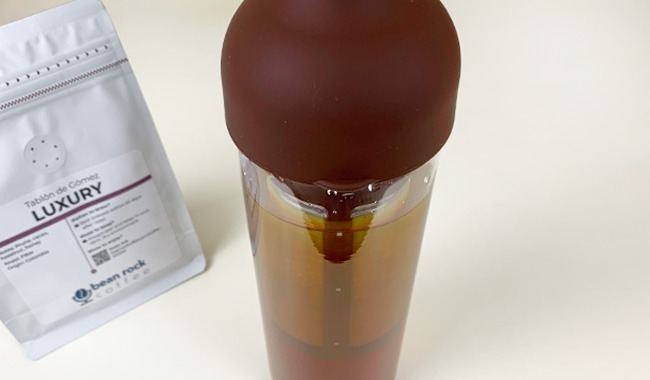
Pour 180ml of hot water just off the boil. Let water saturate the coffee grounds in the coffee bag for 1 minute.

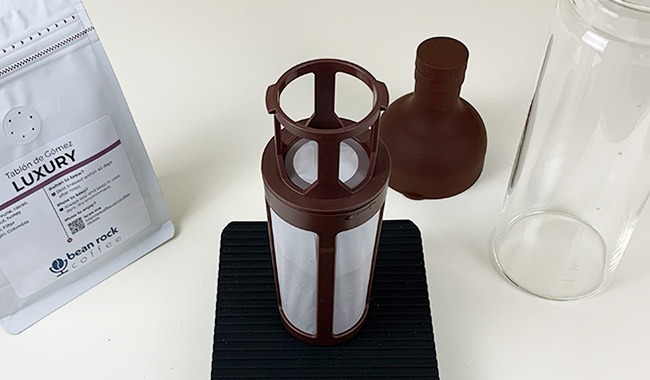
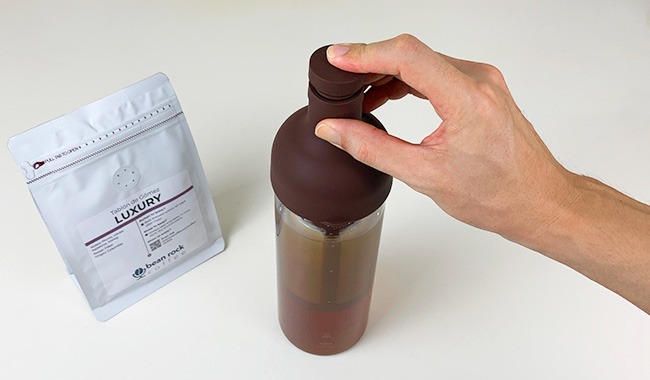
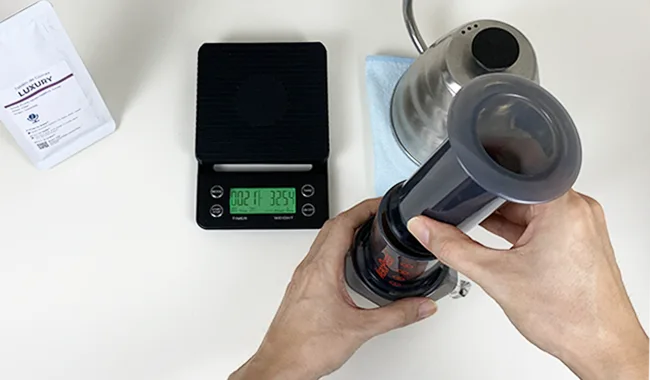
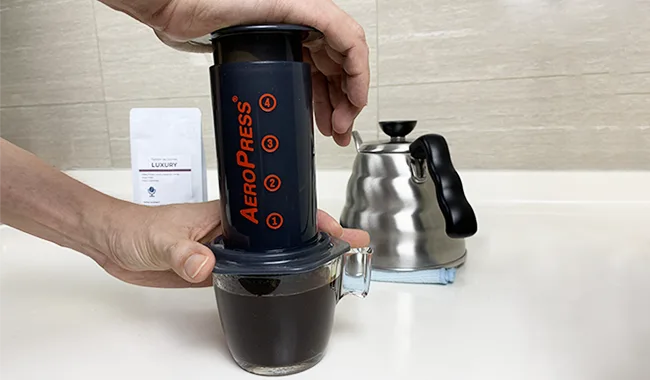
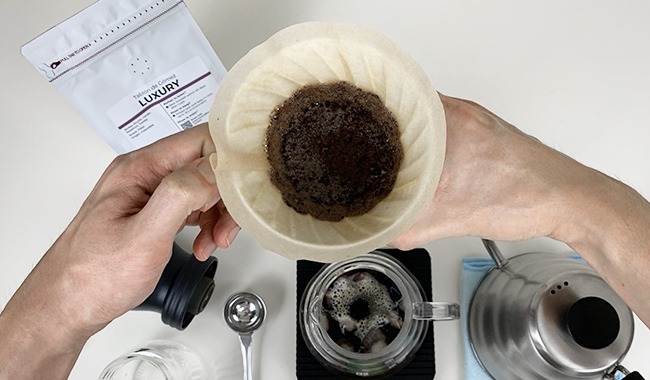
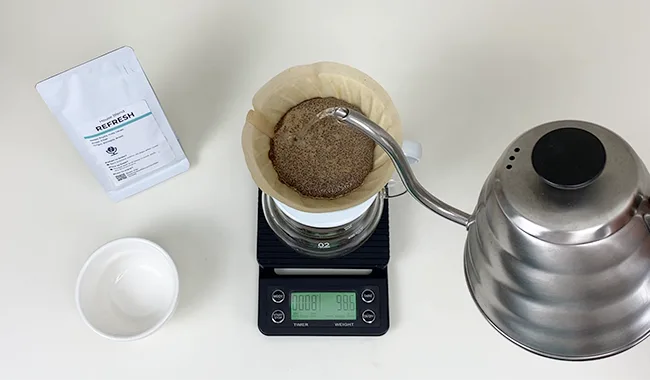
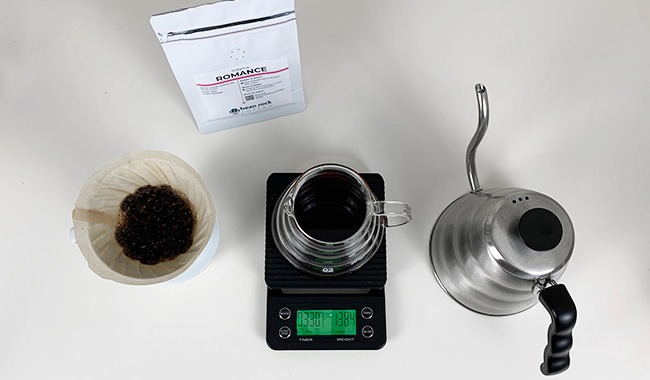
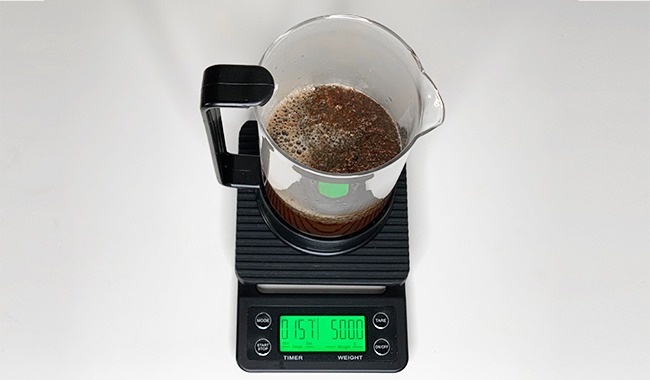
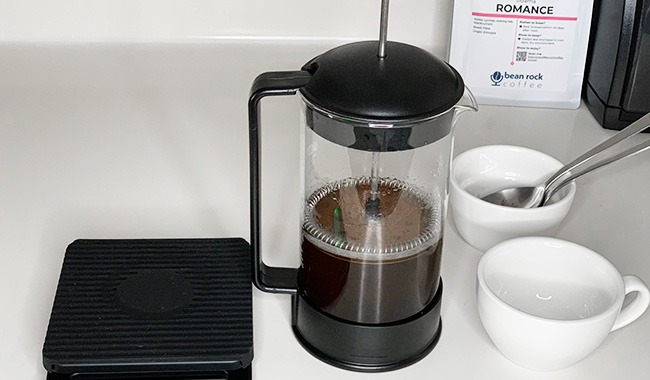
Step 2: Bounce & Steep
At 1:00, bounce the coffee bag up and down for approximately 80 times.
- For a tea-like mouthfeel, bounce about 60x and remove the coffee bag at 5-minute mark.
- For a thicker body (more ‘gao’), bounce as much as you like for 5 minutes and steep the coffee for a longer duration. But cap the total brew time at 10 minutes to minimise astringency.
Enjoy the coffee aroma as you brew!
Alternatively, you can also cover your mug with a lid to retain more heat, then set it aside to do your work.

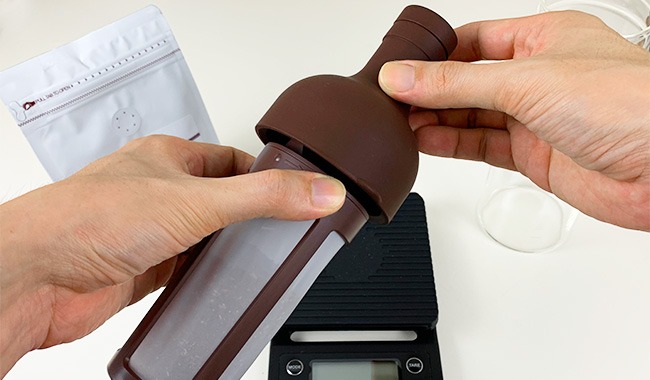
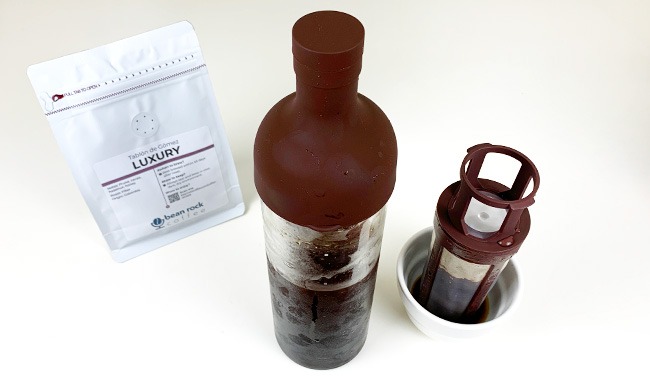
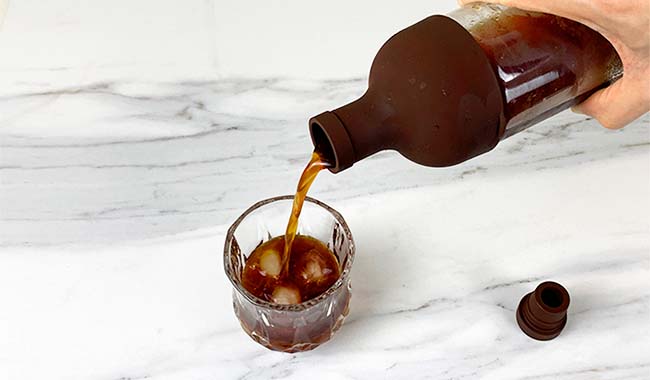
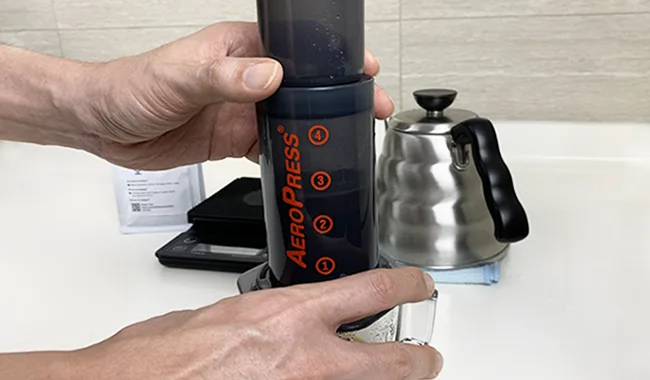
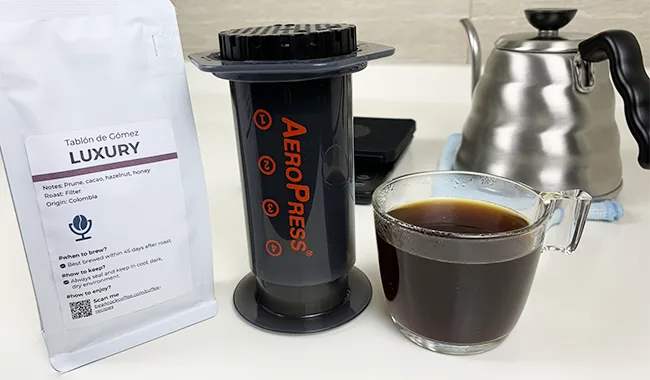
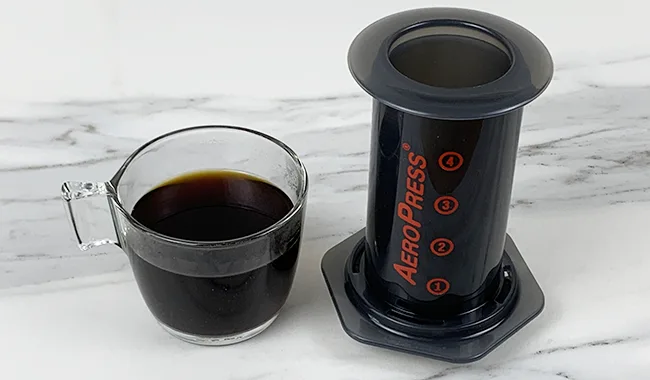
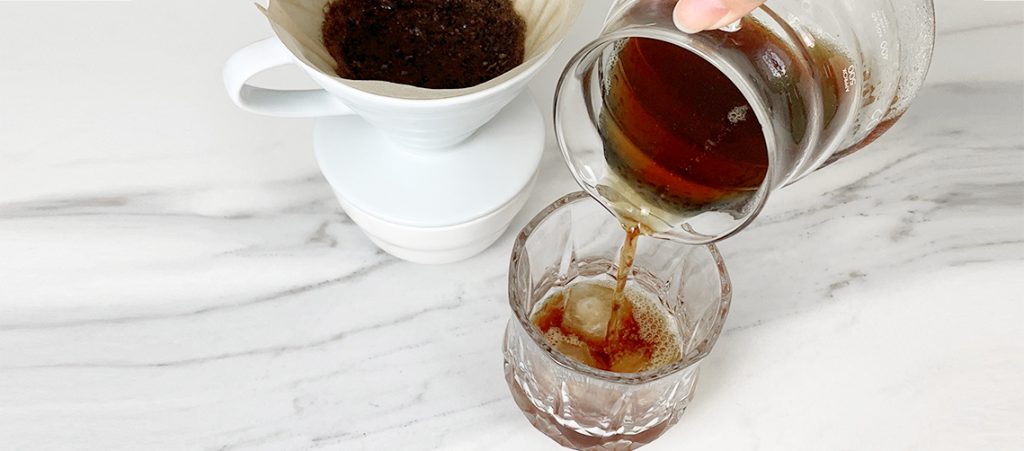
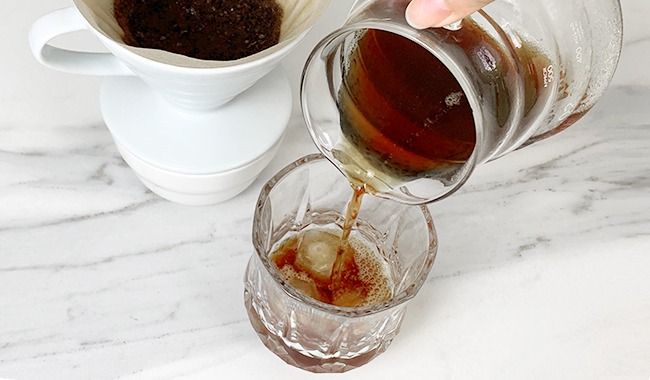
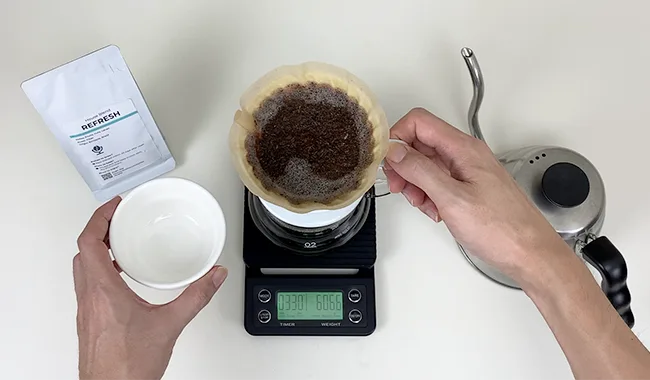
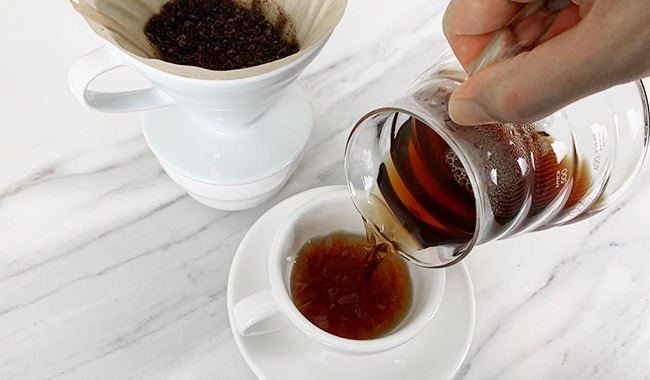
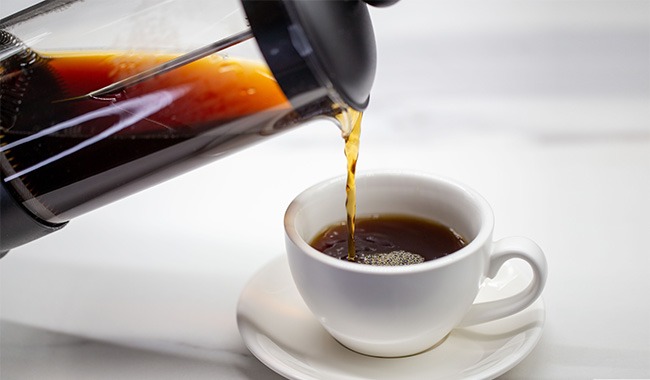
Step 3: Remove & Serve
At 5:00, remove coffee bag from the mug. Serve as is.

Smell, slurp, enjoy!
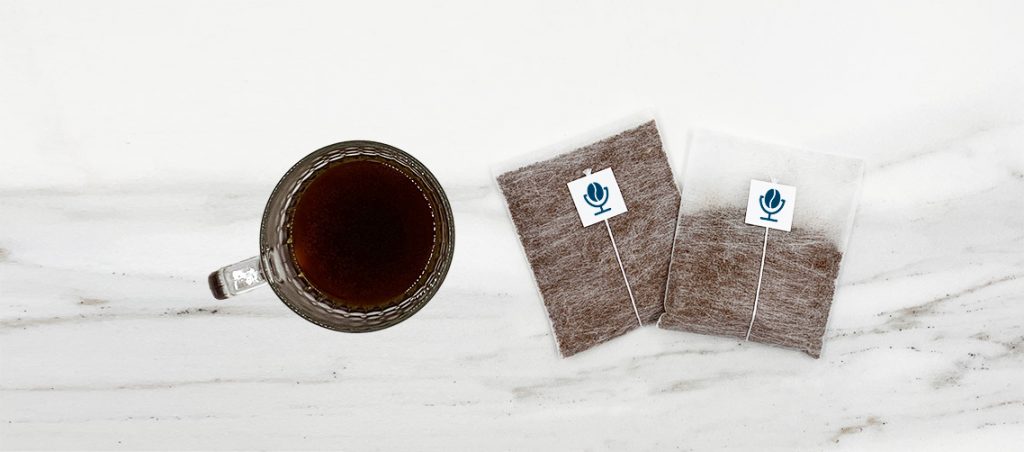
Great coffee doesn’t need to be complicated.
Check out our convenient coffee steep bags, freshly roasted and delivered in Singapore — for your brew-anywhere moments.